
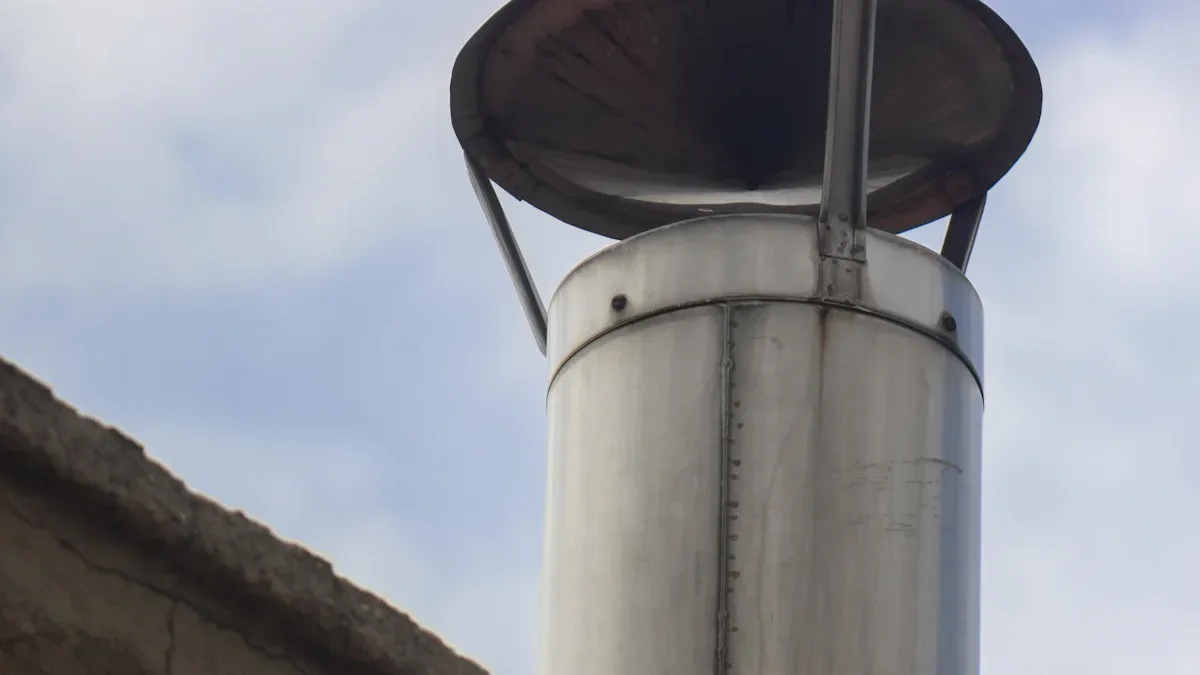
You can install a chimney cap at home with a few simple steps. Many homeowners choose a galvanized steel chimney cap for its durability and weather resistance. Gather your tools and measure the top of your chimney before you begin. Follow diy chimney cap installation methods to stay safe and work efficiently. If you want to know how to install a chimney cap by yourself, you will find the process straightforward. Installing a chimney cap protects your home from rain, animals, and debris.
Tools and Materials for Chimney Cap Installation
Essential Tools for Installing a Chimney Cap
You need the right tools to make installing a chimney cap safe and easy. Industry experts recommend these necessary tools for installing a chimney cap:
- Measuring tape – Use this to measure the flue size.
- Power drill – Drill pilot holes for the screws.
- Stiff-bristle brush – Clean the chimney crown before you start.
- Masonry bit – Attach this to your drill. Pick a size just smaller than your screws.
- Caulking gun – Apply sealant around the edges.
- Screwdriver – Tighten the self-tapping screws to secure the cap.
These tools help you measure, clean, and attach the chimney cap securely. You will find that having all the necessary tools for installing a chimney cap makes the job much smoother.
Materials Checklist for a Galvanized Steel Chimney Cap
You need the right materials for a strong and long-lasting chimney cap installation. Galvanized steel chimney caps use steel coated with zinc. This coating helps prevent rust and keeps your cap strong in bad weather. You will also need 1-inch self-drilling sheet metal screws to fasten the cap. Use a good sealant to keep water out and protect your chimney from leaks.
| Category | Items Needed |
|---|---|
| Materials | 1-inch self-drilling sheet metal screws, galvanized steel rain cap |
| Tools | Cordless drill, crimper |
Check the fit of your cap before you start. Crimp the edges if you need a tighter fit. Remove any old cap before installing a chimney cap.
Many homeowners choose brands like Draft King®, Fire Chief®, Shelter®, and HY-C®. These brands offer many sizes and price ranges. Most galvanized steel chimney caps cost between $50 and $100.


Safety Gear for DIY Chimney Cap Installation
Safety matters when you work on your roof. Ladder falls cause thousands of injuries every year. Always use a sturdy ladder with no missing steps. Wear safety gloves to protect your hands from sharp metal edges. Non-slip shoes help you stay steady on the roof. A safety harness adds extra protection. Ask a friend to hold the ladder while you climb. Avoid installing a chimney cap if you do not feel safe on a roof. Roof safety knowledge helps prevent slips, falls, and injuries.
Tip: Never rush when installing a chimney cap. Take your time and double-check your safety gear before you start.
Preparation Before You Install a Chimney Cap
How to Measure Your Chimney for a Cap
Accurate measurement is the first step in installing a chimney cap. You need to measure both the inside and outside dimensions of your chimney flue. Use a measuring tape to check the length and width at the flue’s widest points. Measure the height from the top of the flue to the chimney crown. Take measurements at several spots because some chimneys have uneven edges. If you have a terracotta flue tile, measure its outside dimensions and add 3 to 4 inches for proper overhang. This extra space helps protect your chimney from rain and debris.
Tip: Incorrect measurements can cause a poor fit. A cap that is too small or too large may let in water, animals, or even cause smoke to back up into your home. Always double-check your numbers before you buy a galvanized steel chimney cap.
Choosing the Right Galvanized Steel Chimney Cap
You want a chimney cap that fits your chimney’s design and meets your needs. Start by checking the number of flues. Single-flue caps work for one opening, while multi-flue caps cover several. Galvanized steel chimney caps are budget-friendly and resist rust, but they may not last as long as stainless steel in wet climates. Think about your local weather. If you live in a rainy or windy area, you may want a wind-resistant or full-coverage cap. Look for features like spark arrestors if you need extra fire safety. Choose a style that matches your home’s look.
Here are some factors to consider:
- Chimney size and shape
- Number of flues
- Local weather conditions
- Material durability
- Aesthetic preferences
Safety Precautions for Chimney Cap Installation
Safety should always come first when installing a chimney cap. Before you start, inspect your chimney for cracks or loose bricks. Clean away any debris from the crown and flue area. Use a sturdy ladder and wear non-slip shoes and gloves. Always use a safety harness if you need to climb onto the roof. Secure the ladder and ask someone to help steady it.
- Use a chimney cap with a spark arrestor to prevent embers from escaping.
- Make sure you install the chimney cap with screws or clamps, not just by sliding it into place.
- Check that the cap is level and tightly fastened to avoid wind damage.
- Keep the mesh openings around ¾ inch to balance airflow and safety.
Note: If you feel unsure about how to install a chimney cap safely, consider hiring a professional. Your safety is more important than finishing the job quickly.
How to Install a Chimney Cap by Yourself: Step-by-Step Guide
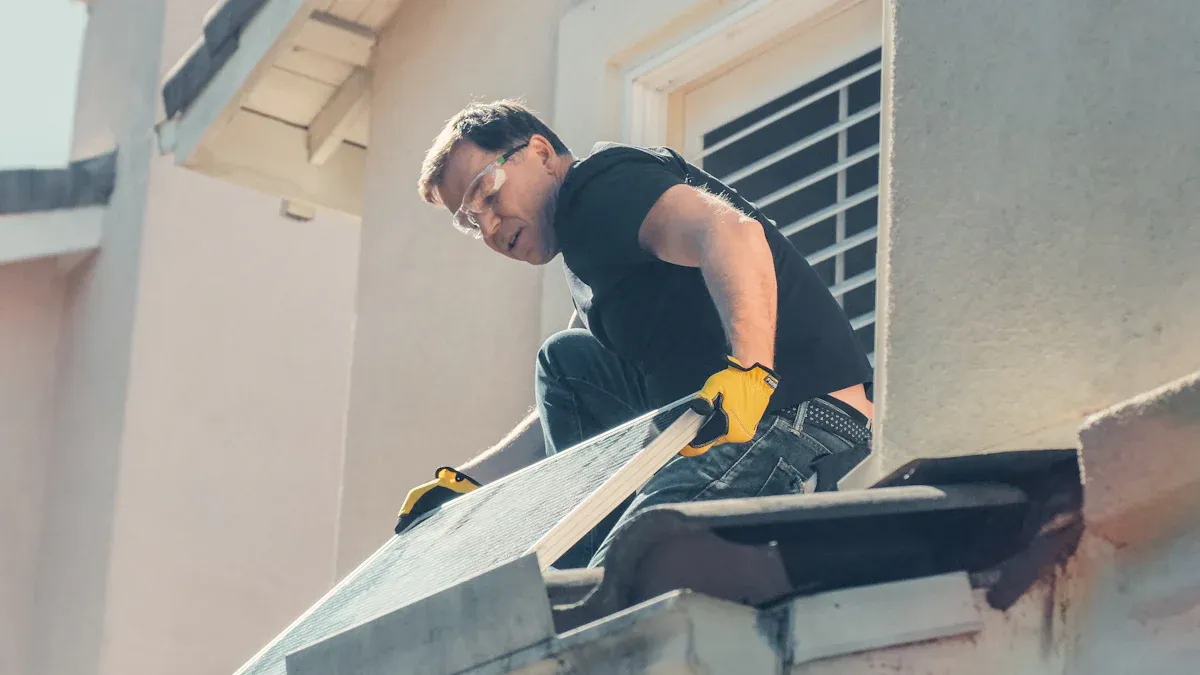
Installing a Chimney Cap on a Single-Flue Chimney
You can install a chimney cap on a single-flue chimney by following a clear step-by-step guide. This process helps protect your home from rain, animals, and debris. Here are the chimney cap directions you should follow:
Measure the Flue Opening
Use an extension ladder with a stabilizer to reach your chimney safely. Wear a safety harness and non-slip shoes. Measure the outside length, width, and height of your flue. If your flue is round, measure the diameter. Write down these numbers.Choose the Right Cap
Buy a galvanized steel chimney cap that matches your measurements. The cap should be within 1/2 to 1 inch of your flue size and at least 6 inches taller than the flue. Make sure the mesh size is about 3/4 inch for good airflow and safety.Prepare the Chimney
Clean the top of your chimney with a stiff-bristle brush. Check the crown or chase cover for cracks or damage. Repair any problems before you install the chimney cap.Set the Chimney Cap
Slide the cap over the flue. For metal flues, use self-tapping sheet metal screws and a power drill to secure the cap. For clay flues, drill pilot holes with a masonry bit and use masonry screws. If your flue is round, tighten the clamp around the base of the cap.Seal the Edges
Apply high-temperature sealant around the base of the cap to keep water out.Inspect Your Work
Look at the cap from all sides. Make sure it sits level and feels secure. Tug gently to check that it does not move.
Tip: Always wear safety gloves when installing a chimney cap. Sharp metal edges can cause cuts.
Here is a table of common mistakes people make when installing a chimney cap and how you can avoid them:
| Common Mistake | Explanation | Prevention Method |
|---|---|---|
| Incorrect chimney flue measurements | Buying an ill-fitting chimney cap due to wrong measurements causes installation issues. | Carefully measure flue dimensions (length, width, diameter) with tape and record before purchase. |
| Choosing wrong chimney cap metal | Using galvanized steel can cause corrosion, chimney fires, and requires high maintenance. | Select stainless steel or copper caps for durability and less maintenance. |
| Unsecured chimney caps | Caps that are loosely installed or slide in without screws risk flying off in strong winds. | Securely fasten caps with appropriate hardware; avoid caps that only slide in without support. |
| Lack of draft control | Some caps worsen drafts, causing inefficiency and discomfort. | Use vacuum or wind directional caps to improve draft and prevent downdrafts. |
| Lack of internal damper mechanism | Missing or loose dampers lead to energy loss and exposure to elements. | Choose caps with integrated damper mechanisms to insulate and protect the home. |
- Always inspect and repair the chimney crown before you install the chimney cap.
- Never use an A-frame ladder for this job. Use an extension ladder with a stabilizer.
- Work with a partner for extra safety.
Installing a Chimney Cap on a Multi-Flue Chimney
A multi-flue chimney has more than one opening. You need a larger cap that covers all the flues at once. The process for installing a chimney cap on a multi-flue chimney is different from a single-flue chimney. Here is how to install a chimney cap for this type:
Measure the Chimney Crown and Flue Heights
Use your tape measure to find the length and width of the entire chimney crown. Measure the height of the tallest flue. Write down these numbers.Select the Right Multi-Flue Cap
Choose a galvanized steel cap that covers all the flues and fits the crown. The cap should be tall enough to clear the highest flue by at least 6 inches. Make sure the mesh is about 3/4 inch for safety.Prepare the Surface
Clean the chimney crown with a stiff-bristle brush. Check for cracks or loose bricks. Repair any damage before you install the chimney cap.Position and Attach the Cap
Set the chimney cap over the flues. Line up the cap so it covers all the openings. Use masonry screws or adhesive to attach the cap base to the crown. Tighten all screws with a power drill. Some caps use brackets for extra support.Seal the Perimeter
Apply high-temperature sealant around the base of the cap to prevent leaks.Check the Installation
Inspect the cap from every side. Make sure it sits flat and does not wobble. Pull gently to test if it is secure.
Note: Multi-flue chimney caps are larger and more complex to install. If you feel unsure, ask a professional for help.
- Multi-flue caps attach to the chimney crown, not just the flue.
- You must measure the entire crown and the tallest flue for a proper fit.
- Both single-flue and multi-flue caps need careful sizing and secure fastening.
By following this step-by-step guide, you can learn how to install a chimney cap by yourself. You will protect your home and improve your chimney’s performance. Always follow safety rules and double-check your work. Installing a chimney cap is a smart way to keep your chimney safe and working well.
After Chimney Cap Installation: Checks and Maintenance
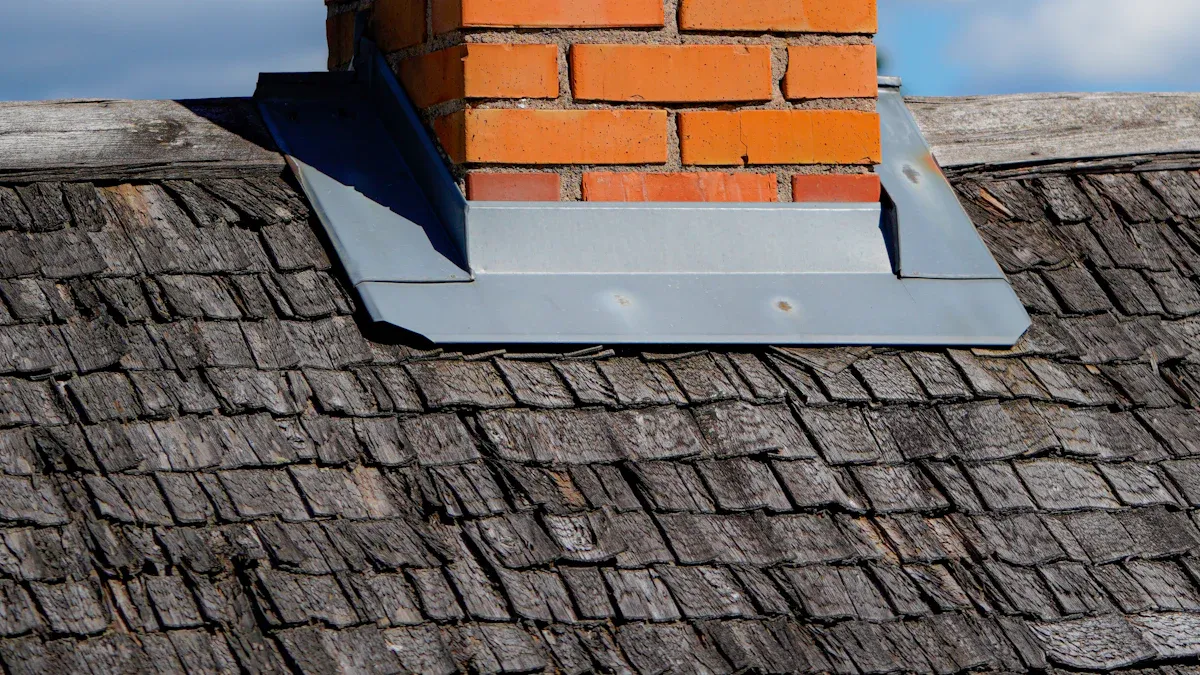
Post-Installation Checks for Your Chimney Cap
After you finish installing your galvanized steel chimney cap, you need to make sure it is secure and ready to protect your home. Start by checking that the cap fits snugly over the flue. If you used screws or wing nuts, make sure they are tight and the cap does not move. Look for a continuous bead of caulk around the base. This seal should be about one inch wide to keep water out.
Follow these steps for a thorough check:
- Confirm the cap fits tightly and does not shift.
- Inspect all screws or wing nuts and tighten them if needed.
- Check the caulk seal for gaps or cracks.
- Make sure the mesh screen is in place and not bent.
- Look for any signs of rust or damage.
Tip: Walk around your chimney and view the cap from every angle. A quick visual check can help you spot problems early.
Common issues you might find include debris on the cap, rust spots, or signs of weather damage. Sometimes, animals can bend or chew the mesh. If you see any of these problems, fix them right away to keep your chimney safe.
Basic Maintenance Tips for a Galvanized Steel Chimney Cap
Regular maintenance helps your galvanized steel chimney cap last longer. You should inspect and clean your cap at least once a year. Use a wire brush to remove leaves, soot, or other debris from the mesh. This keeps air flowing and prevents blockages. If you burn wood, use dry, seasoned logs to reduce creosote buildup.
Here are some maintenance tips:
- Clean the mesh screen with a wire brush every season.
- Check for rust or corrosion. If you find any, use a rust-neutralizing primer and high-temperature paint.
- Make sure the cap is still tightly attached and the caulk seal is solid.
- Replace the cap if you see cracks, holes, or heavy rust.
A galvanized steel chimney cap usually lasts about five years. Regular cleaning and quick repairs can help, but you may need to replace it sooner if you notice a lot of rust or damage. Annual inspections by a professional can also help you catch problems before they get worse.
Note: Keeping your chimney cap in good shape protects your home from rain, animals, and fire hazards. A little care goes a long way!
Installing a galvanized steel chimney cap gives you a smart way to protect your home. You keep out rain, snow, and animals. You also block leaves and debris, which helps prevent fires and costly repairs. Regular checks and cleaning help your cap last longer and save you money.
- Prevents water damage and masonry deterioration
- Blocks animals and debris from entering
- Reduces fire hazards and improves airflow
- Saves you up to $2,700 on repairs over time
Tip: Inspect your chimney cap twice a year to catch problems early and keep your chimney safe.
Preguntas más frecuentes
How often should you check your galvanized steel chimney cap?
You should check your chimney cap twice a year. Look for rust, loose screws, or debris. Regular checks help you catch problems early and keep your chimney safe.
Can you paint a galvanized steel chimney cap?
Yes, you can paint your chimney cap. Use high-temperature, rust-resistant paint. Clean the cap first. Painting helps prevent rust and matches the cap to your home.
What if your chimney cap does not fit tightly?
If your cap feels loose, use a crimper to adjust the edges. Tighten all screws. Add extra sealant if needed. A snug fit keeps out water and animals.
Do you need to remove the chimney cap for cleaning?
You do not need to remove the cap for basic cleaning. Use a wire brush to clear debris from the mesh. For deep cleaning or repairs, take the cap off and inspect it closely.